Section 01-18: Body Stripes (Tape) and Vinyl Films | 1996 F-150, F-250, F-350, Super Duty and Bronco Workshop Manual |
Materials required:
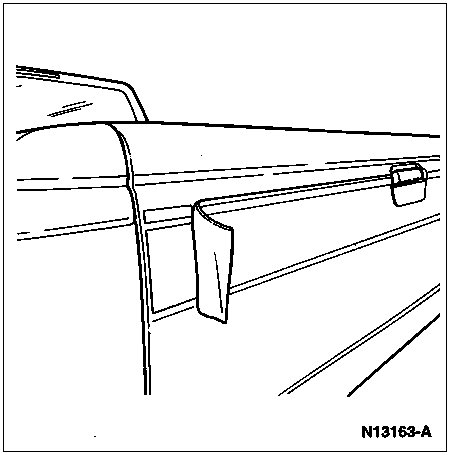
Removal
Clean repair surfaces, adjust panels and openings as required.
Remove any parts mounted on or overlapping tape stripe from affected panel(s).
NOTE: Removal can be assisted by using 3M® Woodgrain and Stripe Remover 08907 or 3M® Friction Wheel 07501 or equivalents. The use of the friction wheel will also require the use of a Rotunda 3/8-inch Heavy-Duty Air Drill 107-R1616 or equivalent. Avoid using any pointed or sharp tools as they might damage the painted surface.
Remove tape stripe by starting at one edge and carefully peeling it from painted surface. If using Woodgrain and Stripe Remover or Friction Wheel, follow manufacturer's instructions for proper use.
NOTE: Exercise care when using solvents to avoid possible damage to painted surfaces. To determine if solvent will react with painted surface, test it on a hidden area of the vehicle, such as the underside of the deck lid.
Remove any remaining adhesive from painted surfaces using a cloth saturated with 3M® General Purpose Cleaner 08984 or equivalent. Then remove remaining residue with a clean soft cloth. Repeat as necessary.
Rinse thoroughly with clean water and/or Silicone and Wax Remover DL60-3271-A or equivalent as necessary.
Installation
Dry Method Installation — Small or Thin Stripes
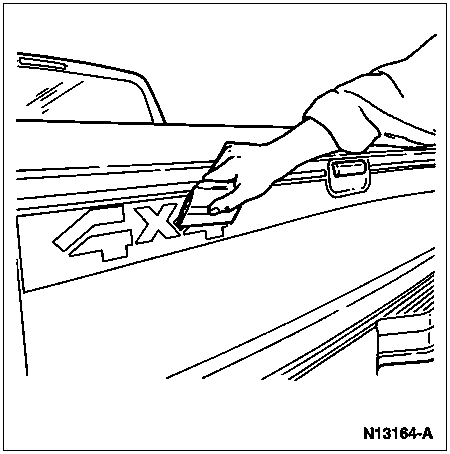
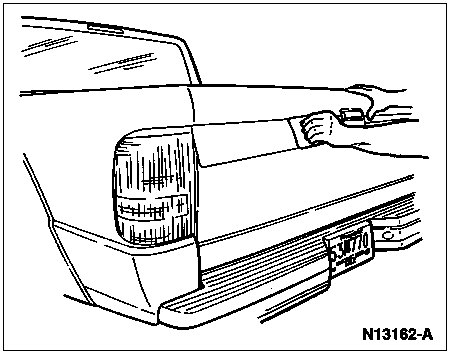
![]() CAUTION: Handling tabs must be used as illustrated to reduce the possibility of fingers coming in contact with the adhesive side of the tape stripe.
CAUTION: Handling tabs must be used as illustrated to reduce the possibility of fingers coming in contact with the adhesive side of the tape stripe.
NOTE: Freshly painted surfaces must be thoroughly dry. Residual solvents in freshly painted surfaces may cause tape stripe to blister. Fingers should not come in contact with the adhesive side of the tape stripe. The recommended ambient air temperature should be at least 18.3°C (65°F) or above for tape stripe installation to be successful.
Clean all surfaces that will receive the tape stripe with Silicone and Wax Remover DL60-3271-A or equivalent. Wipe surface dry with a clean, dry cloth.
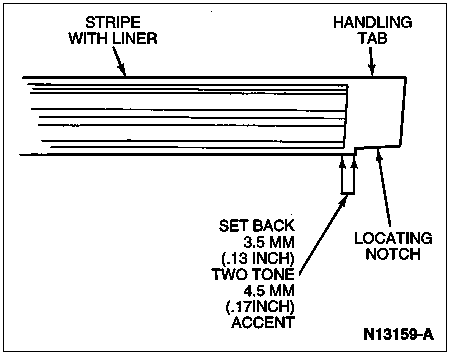
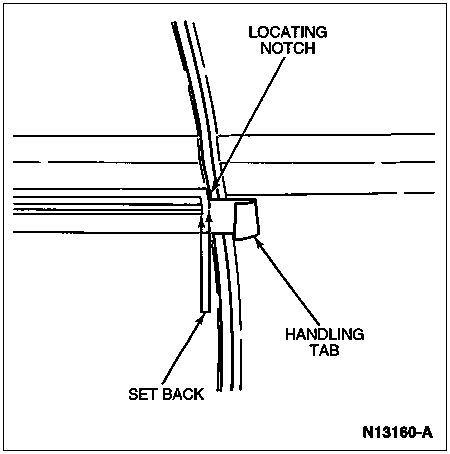
Position carrier edge or locating notch on tape stripe to body openings and/or character lines on the vehicle. The tape stripe has a setback of 3.5mm (0.13 inch) (two-tone) or 4.5mm (0.17 inch) (accent) on both ends from panel edge. The tape stripe also has a 20-30mm (0.78-1.10 inch) extension on the leading edge of the tape stripe liner to act as handling tabs. The locating notch should be positioned to the panel edge. This will aid in the positioning of the designed setback from the panel edge. Tape stripe DOES NOT wrap around panel edges.
Partially remove paper liner from the tape stripe to expose approximately one quarter of the adhesive side of the tape stripe to be applied.
Position the exposed adhesive end of the tape stripe to the vehicle, using the locating notch to assist in correct placement.
Carefully smooth tape stripe into place with a plastic squeegee, using caution not to allow fingers to contact the adhesive side of the tape stripe. Work from the locating notch back. Remove paper liner to expose additional portions of the adhesive side of the tape stripe as necessary.
Visually inspect tape stripe periodically for correct placement. When stripe is straight or correctly aligned, finish smoothing tape stripe into place with plastic squeegee.
Carefully remove the protective pre-mask at approximately a 180-degree angle to the surface. Take care not to lift the tape stripe from its set position.

Re-squeegee the tape stripe to smooth out any air bubbles or irregularities in tape striping, using 3M® PA-1 Squeegee or equivalent, equipped with a 3M® SA-1 Low Friction Sleeve or equivalent to prevent scratching the tape stripe. For contoured surfaces, a KAY 2651 Felt Pad Squeegee or equivalent is recommended for smoothing tape stripes.
Wet Method Installation — Large Areas, Decal
Mix a teaspoon of standard, oil-based free dishwashing detergent in four liters (one gallon) of water. Fill a spray bottle with the solution.
Remove liner paper from tape stripe or decal.
Wet pressure-sensitive side of tape stripe or decal and panel to be striped with detergent solution.
Position tape stripe or decal on vehicle, following the same positioning procedures as described in Dry Method Installation.
Using squeegee (3M PA-1 or equivalent) and firm overlapping pressure, begin from center of tape stripe or decal and squeegee toward the sides and then toward the front. The tape stripe or decal can be easily lifted and reapplied if air bubbles are present.
After the tape stripe or decal is fully installed and squeegeed, remove pre-mask and re-squeegee using squeegee (3M® PA-1 or equivalent) with a low friction sleeve (3M® SA-1 or equivalent) installed. An assistant can be very helpful in removing pre-mask from large areas. Wetting pre-mask with water on large decals may facilitate removal.